


A single incorrect cut through PVC sheet material results in throwing away valuable materials that cost money. My first signage project taught me about this lesson through personal experience. A 4x8 expanded PVC sheet displayed its perfect white surface before I started my custom display work. The wrong blade caused a single aggressive pass which resulted in a melted and chipped mess that resembled shredded paper. The costly error I made taught me a vital lesson. The process of cutting PVC sheets requires both proper tools and knowledge about PVC materials and their corresponding cutting methods. The cutting method for expanded PVC sheets differs from solid sheets because of their distinct material properties.
Your work requires precise cuts that will maintain their integrity when faced with stress. The outcome of your projects depends on your cutting method when working with thin PVC sheets for crafts or thick foam board for architecture because it determines between unprofessional and expert-quality results.
Understanding PVC Sheet Types: Why Your Cutting Method Matters
The first step before making your initial cut requires you to identify what specific material you are working with. The knowledge you acquire at this stage will direct all your choices during the cutting process starting from tool selection up to technique optimization.
The behavior of PVC sheets under cutting pressure varies between different materials which determines the most effective cutting tools and methods. The most prevalent PVC sheet material exists as expanded PVC . The material consists of a solid PVC outer layer which contains a lightweight foam core inside. The flexible construction of these materials makes them suitable for signage and displays and architectural work but they become prone to tearing or compression when improper cutting methods are used.
The standard expanded PVC material exists in various thickness levels which span from 1mm to 30mm while the most widely used thicknesses include 3mm, 5mm, 10mm and 20mm. The selection of blades and cutting speed becomes essential when working with thicker sheets. A 5mm sheet allows rough cutting methods but 20mm thick panels need precise cutting methods to prevent foam damage inside the material.
Solid PVC sheets behave similar to dense plastic lumber when cut. The foam core absence in these sheets leads to heat generation during cutting but they need special blade designs to stop melting. The thickness range of these sheets extends from 1mm to 25mm and they serve applications that need industrial-grade strength beyond what expanded foam can provide.
The main factor to understand about material cutting behavior is that different materials react differently when subjected to friction during the cutting process. The cutting process for expanded PVC requires smooth slicing without compression while solid PVC needs heat-controlled cutting to prevent edge welding. Your ability to select the correct cutting method will improve when you understand these material differences.
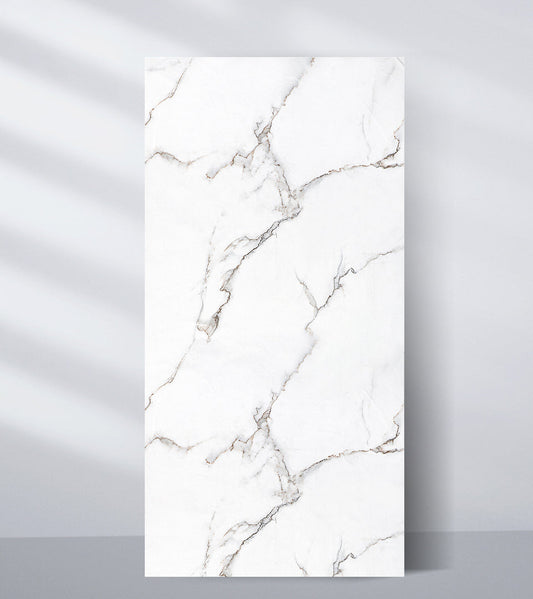
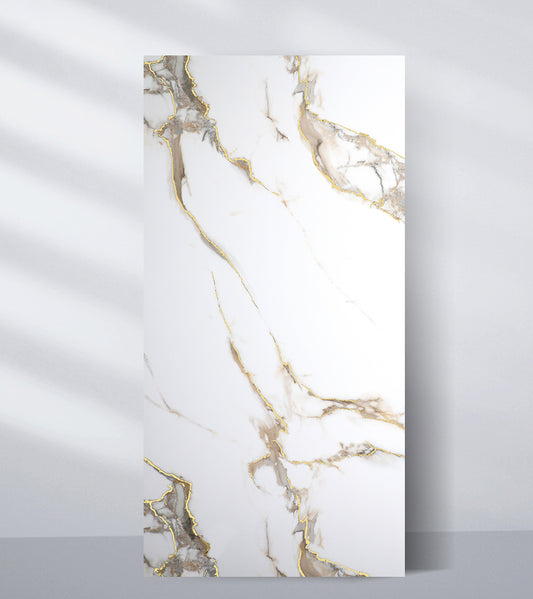
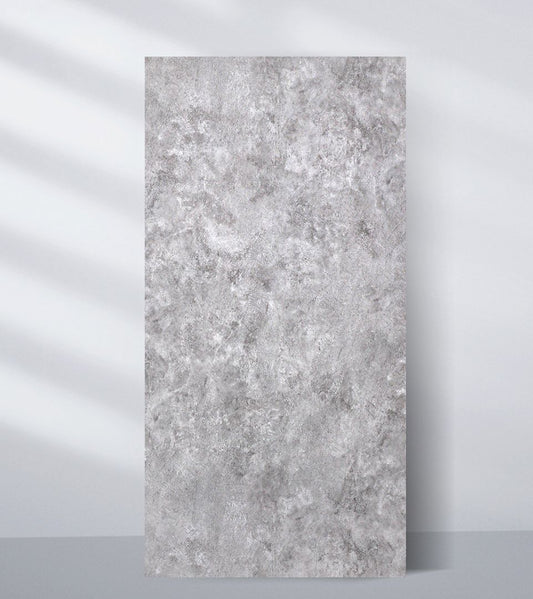
Before beginning your cutting work you should understand how PVC marble sheet operates as a layered panel according to its description.
Cutting Thin PVC Sheets: Mastering the Foundation Techniques
You now know your material so let's begin with basic cutting operations which will help you develop your skills step by step. Hand tools deliver the best control and produce the cleanest results when you need to cut PVC sheet materials that are less than 5mm thick. People commonly believe power tools for cutting but thin sheets actually cut best when handled with precise hand techniques.
Your stanley knife should move smoothly through the material during your second pass while you apply slightly more pressure to the exact score line. The blade will penetrate deeper into the expanded PVC material as you continue cutting. The stanley knife needs three to five passes to cut through 3mm material until it reaches the backing surface.
The key to success emerges when you reach the last stage of your cut. The PVC sheet will break neatly along your cut line when you have scored it deeply enough using minimal force. The controlled breaking process produces a better cut edge than attempting to force the blade through the material in one strong motion.
Hand cutting becomes less effective when working with materials that exceed this thickness limit. The stanley knife method works for cutting 5mm thick sheets but requires extended patience from the user. Perform six to eight scoring operations while monitoring the material's reaction to your blade. The material will start to compress or tear instead of cutting smoothly when you need to switch to a saw-based method.
Transitioning to Power Tools: Circular Saw and Jigsaw Techniques
Power tools provide the most efficient method to achieve accurate cuts when you need to cut beyond the thickness that hand tools can handle. The transition from hand tool precision to motorized cutting power and speed marks a major change in your cutting approach.
A circular saw provides the most effective tool for cutting thick PVC material straight lines but your results depend heavily on the blade selection. The standard wood-cutting blades generate excessive friction which results in melted cut edges. The process of selecting the right blade for plastic and laminate materials requires a carbide-tipped blade with 60-80 teeth for optimal results.
The following setup produces reliable results when you place your 4x8 sheet on sawhorses with the excess material extending past the edge. The cut piece will not get stuck to the blade when you make your last cut because the waste side remains outside the blade path. The circular saw blade should extend only enough to pass through the material because excessive blade exposure generates heat and friction.
The speed at which you move your circular saw through the material becomes essential when using power tools. Your circular saw should move through the material at a steady pace without applying excessive force. The correct speed for cutting through dense styrofoam material creates a smooth resistance that prevents the saw from slowing down or speeding up during the cut. The motor speed will change dramatically when you move your saw at either excessive or insufficient speed.
The process of curved cutting demands a completely new method than what circular saws provide for straight cuts. The jigsaw tool performs better for curved cuts and inside cutouts but demands specific technique adjustments. The process of cutting plastics requires a plastic-specific fine-toothed blade and you should decrease your saw's orbital motion to prevent chip formation. The main principle of jigsaw cutting involves placing your material near the cut line to stop vibrations which damage foam core material and create uneven edges.
The process of profile cutting and intricate shape creation benefits from starting with relief cuts. The process of making relief cuts involves drawing straight lines from your sheet edge to the starting point of your curved cut path. The relief cuts help your jigsaw blade stay free from waste material during curved cutting operations. The preparation method becomes essential for achieving success in complex cutting operations.
Exploring Advanced Cutting Methods: Track Saw, CNC, and Waterjet Options
The implementation of advanced cutting techniques becomes essential when precision takes precedence over speed or when you need to process extensive quantities of expanded PVC sheets. These professional cutting methods provide capabilities which manual techniques cannot achieve.
The track saw operates between handheld circular saws and full cabinet saws as an intermediate tool. The track saw system enables users to achieve professional-grade cuts similar to table saws without needing to install big stationary equipment in their workshop. The anti-splinter strips built into track saws create a near-perfect surface finish on the top edge of your PVC sheet.
The process of setting up a track saw demands careful attention to details because it delivers outstanding cut results. The track needs exact alignment with your desired cut path and the saw base requires precise calibration to the track for proper operation. The measurement scales in most systems help me check my cuts but I always confirm my placement with a ruler before cutting expensive materials.
CNC routing technology enables users to achieve cutting results that manual methods cannot duplicate. The combination of precise shape reproduction and automated production and exact repeated results makes CNC an excellent choice for producing identical parts and complex profiles. The majority of CNC systems operate with expanded PVC materials that reach 25mm in thickness but users need to adjust their feed rates and spindle RPM according to material density.
The success of CNC cutting depends on programming the right combination of speed and feed rates. The initial step involves using slow feed rates with average spindle speeds before you find the optimal settings through cut quality assessment and material response observation. The combination of fast cutting speeds with PVC material will result in edge melting and foam core compression. The cutting process becomes too long for production work when you use slow feed rates.
Waterjet cutting represents the highest level of precision and edge quality for processing thick materials and complex shapes. The cold cutting process of waterjet cutting eliminates all heat-related edge issues and produces minimal material waste because of its narrow kerf width. Waterjet services become cost-effective for complex designs and high-precision applications that need to pay more for each cut operation.
Your ability to select between in-house cutting and professional cutting services depends on your understanding of advanced cutting techniques. The success of your cutting operation depends on your ability to understand the technical aspects which affect cutting performance.
 |

|
Prioritizing Safety and Proper Setup
The process of cutting PVC sheet material produces distinct safety risks which differ from those encountered when working with wood or metal. Your health and project success will benefit from understanding potential hazards and implementing suitable safety measures which enable you to perform all techniques safely and efficiently.
The process of cutting expanded PVC material demands absolute dust collection measures. The foam core structure produces tiny particles which trigger respiratory problems and create disorganized work areas. Your power tools should always connect to a shop vacuum for dust collection but you can perform outdoor work with proper ventilation when dust collection becomes impossible.
Your safety glasses need to protect you from PVC cutting hazards but you should understand their limitations. The static electricity in the air makes tiny particles stick to your safety glasses which blocks your line of sight. The use of anti-static glasses together with regular glass cleaning during long cutting sessions will preserve your clear vision throughout your entire project.
The risk of PVC melting during cutting operations demands you to monitor your blade condition and your cutting methods. The production of toxic fumes from melted PVC occurs when power tools generate excessive heat because of dull blades. Stop your cutting operation right away when you observe plastic melting or detect strange smells. The blades need replacement or sharpening before they produce enough friction to compromise their cutting performance.
The arrangement of your work area determines both your safety level and the quality of your cuts. The PVC sheet needs proper support to prevent cutting difficulties but the waste piece must have unobstructed access to fall away. Power tools experience kickback when material binds during operation and hand tools can also damage your materials.
All cuts need additional finishing work to reach the precise edge quality which your project requires despite using perfect cutting methods and safety measures. We will examine methods to enhance your cutting precision to professional standards.
Refining Your Results: Finishing Techniques for Perfect Edges
The process of perfect cutting techniques produces edges which need additional refinement for professional work requirements. Your cutting strategy benefits from knowledge about finishing methods because it enables you to produce edges that match your project specifications. The cutting skills we have learned form the basis for your ability to achieve precise edge quality through finishing options.
The combination of 220-320 grit sandpaper proves effective for smoothing out small rough edges that occur during cut PVC material processing. The sanding process should follow the cut direction because sanding against the grain will produce visible scratches in finished products. The process aims to eliminate cutting marks while preserving the straight edge design that your cutting method established.
The cosmetic issue in expanded PVC sheets with exposed foam core can be fixed through light sanding which avoids needing more intense methods. The sanding process causes the foam core to compress which results in a smooth interface with the solid skin material.
The process of router trimming enables users to remove small amounts of material while creating specific edge profiles. A template-guided flush-trim bit enables users to achieve exact dimensions when processing hand-cut edges. The method delivers excellent results when you require multiple pieces with matching edge designs.
The application of masking tape before cutting operations protects your material from small chips and minimizes the need for additional finishing work. Place masking tape along your cut path on both sheet sides before performing the cut operation. The tape should be taken off right away after cutting to stop adhesive from accumulating on the material.
All cutting operations require proper technique and preparation yet problems can still occur. Your ability to identify and fix cutting problems will enable you to fix errors and stop them from happening again in upcoming projects.
Your Next Cut: Putting Knowledge Into Practice
The success of PVC cutting depends on selecting the correct method which matches the material properties and project needs. The guide starts with fundamental material education before advancing to complex cutting methods and ending with expert-level decision-making.
The cutting process for thin PVC sheets works best with sharp stanley knives but expanded PVC material requires power tool techniques when using the correct blades at controlled feed speeds. Your first step for any new project requires you to determine the material thickness and needed cut precision and available equipment. The requirements for a basic display made from 5mm PVC sheet include only a sharp stanley knife and straight edge but complex architectural projects using 20mm material need professional waterjet cutting services.
The performance of your blades depends more on their condition than their initial price point. A well-suited blade that remains sharp will deliver superior results than an expensive blade that has lost its sharpness. The lifespan of your blades should extend beyond the point where their performance starts to decline.
Your cutting setup plays a crucial role in determining your success before you begin the actual cutting process. Proper material support and exact guide placement and sufficient dust collection systems will help you achieve success in your cutting operations. The majority of cutting problems can be avoided through proper preparation which usually results in faster completion times than hasty cutting without proper setup.
Practice your cutting skills on various PVC sheet samples before starting work on essential projects. The knowledge of material behavior during different cutting procedures helps you gain confidence while avoiding expensive errors in your final products.
You are ready to execute your next cut with maximum effectiveness. The combination of double measurement and correct blade selection with slow and controlled cutting techniques will produce superior results than forceful cutting methods.
Tags:
Previous
The Ultimate Guide to Building a Durable Composite Deck
Next
PVC Marble Sheets Buying Guide: Transform Your Space with Style and Smart Savings
Related articles

-
Jul 22 2026
Top Benefits of Composite Cladding Boards for Your Home

-
Jul 15 2026
Composite vs Vinyl Cladding: Best Choice for Your Home


-
Jul 02 2026